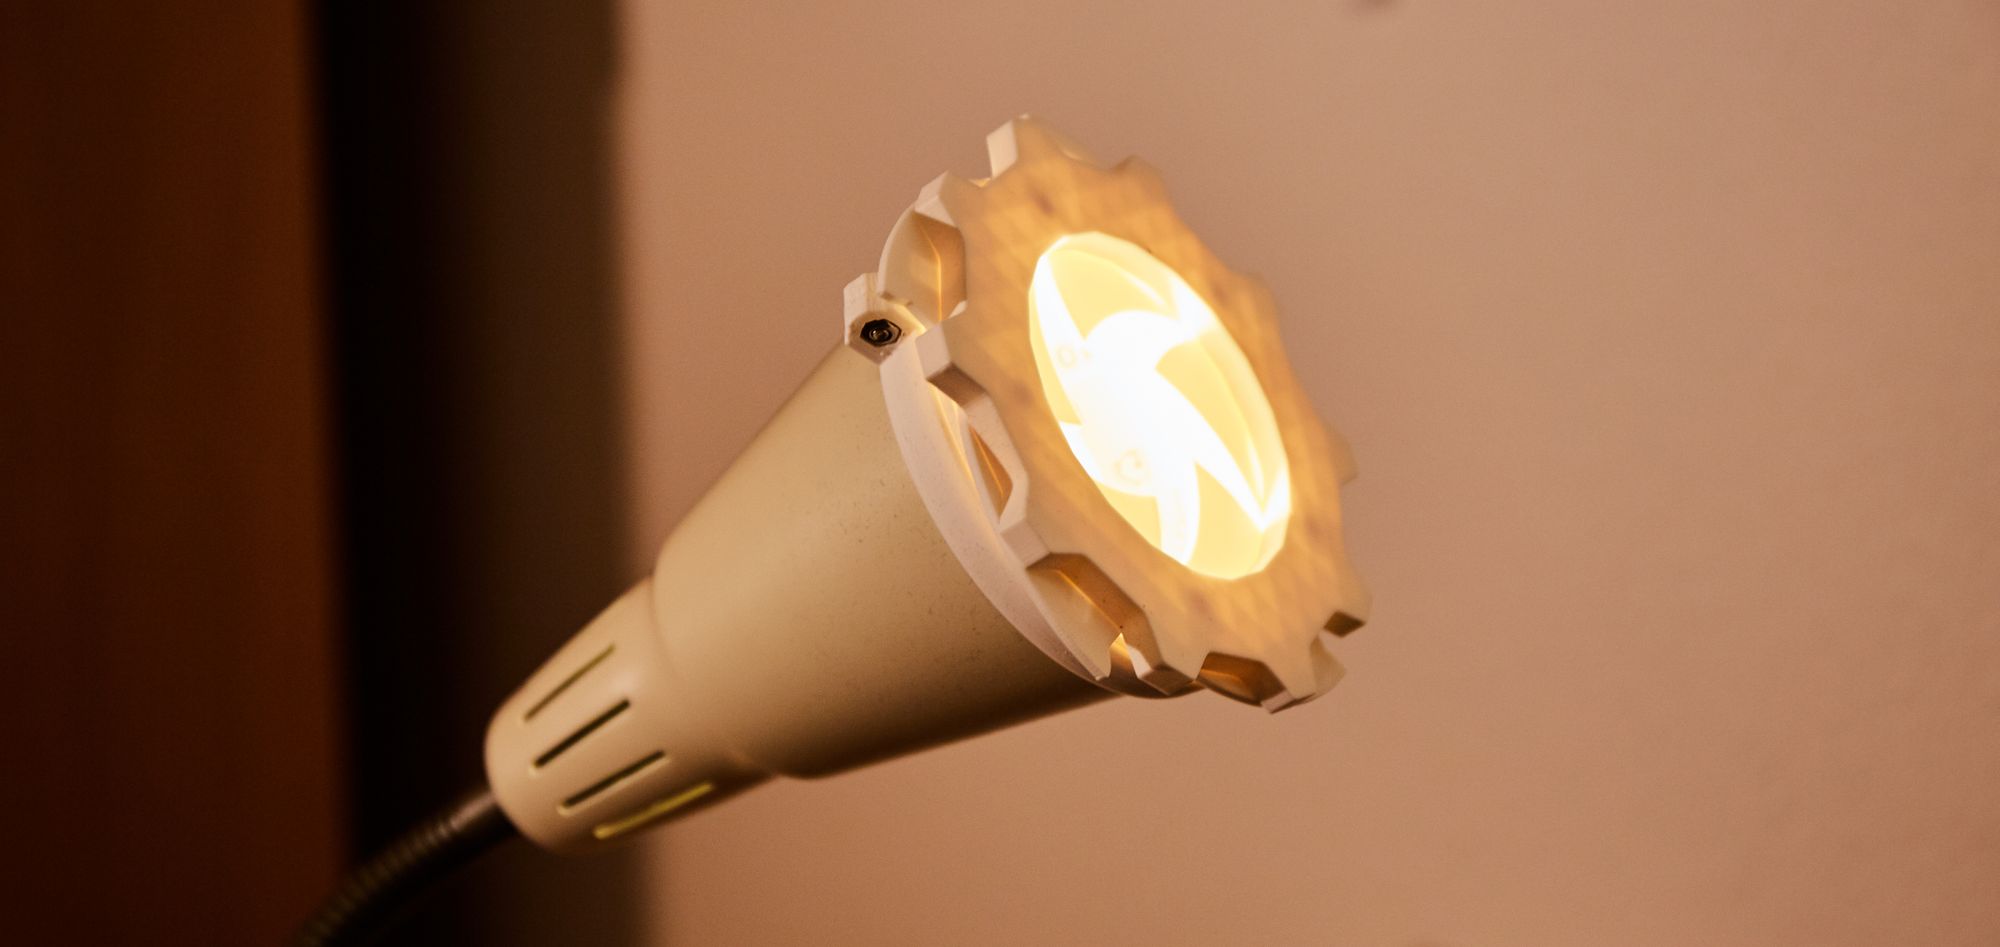
Prolog
A few years ago, we inherited a clamp-mounted lamp from the previous tenant of an apartment where we moved in. It was a white IKEA KVART that we occasionally used as a bed-side lamp.
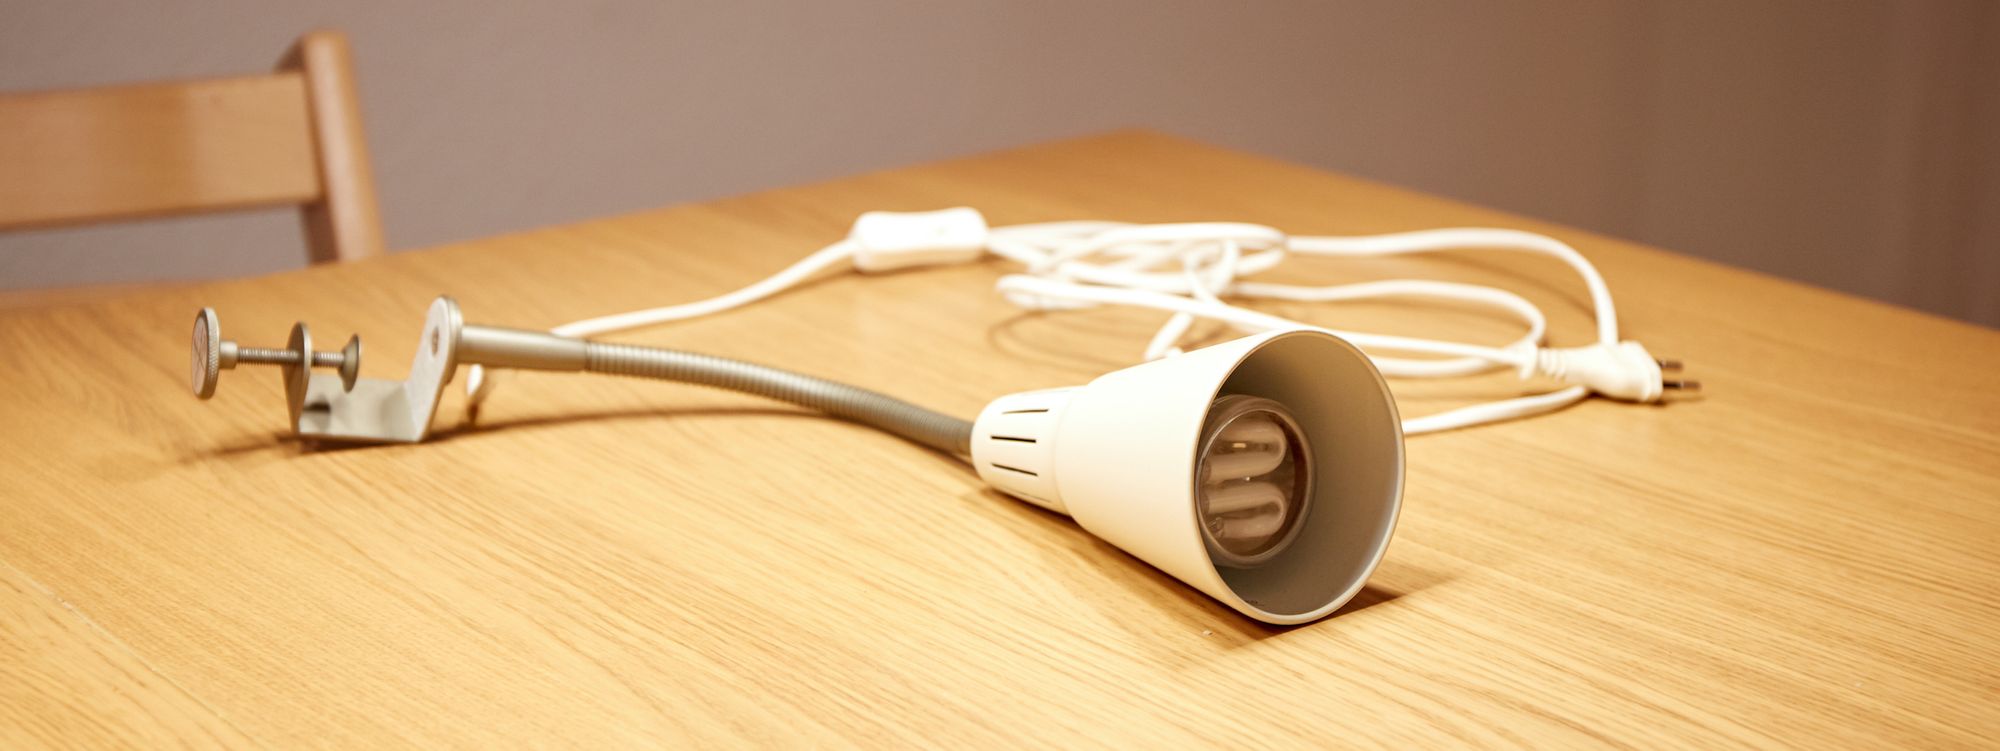
About a year ago, our daughter Sophia learned how to turn on the lamp. Then she would wake up in the middle of the night and turn it on. This would wake my wife up because the light was very bright. Additionally, the light was too bright for falling asleep. Thus we thought about having a possibility to dim the light.
IKEA KVART is powered by 220V alternating current (i.e., you plug it into a standard power socket). The lightbulb that came with the lamp was of a compact fluorescent type, and they don't dim well. Incandescent light bulbs dim well, but they are super inefficient. LEDs may dim all right, but they are still not perfect. Another big question was how to add a dimmer to an AC power cord. There are some sketchy products on Aliexpress, but nothing that would be easy to install and works well out of the box.
I decided to make a physical dimmer: something that blocks the light coming from the lamp and can be easily adjusted.
The Iris Door
When I think about something that blocks light and can be adjusted, the first thing that comes into my mind is the aperture in a camera. I previously saw the Iris Door Box project on Thingiverse that used the aperture-like mechanism to open and close a container.
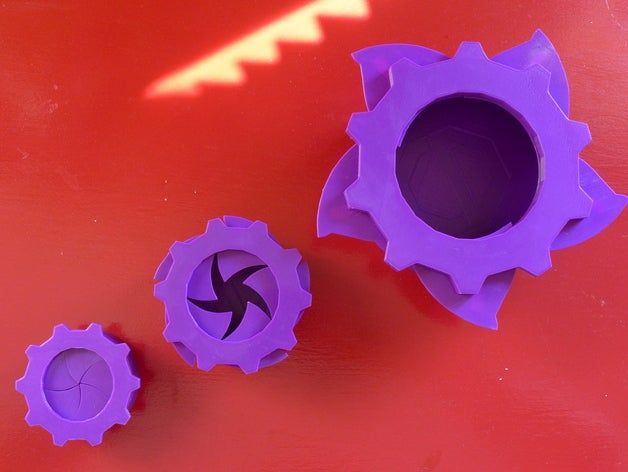


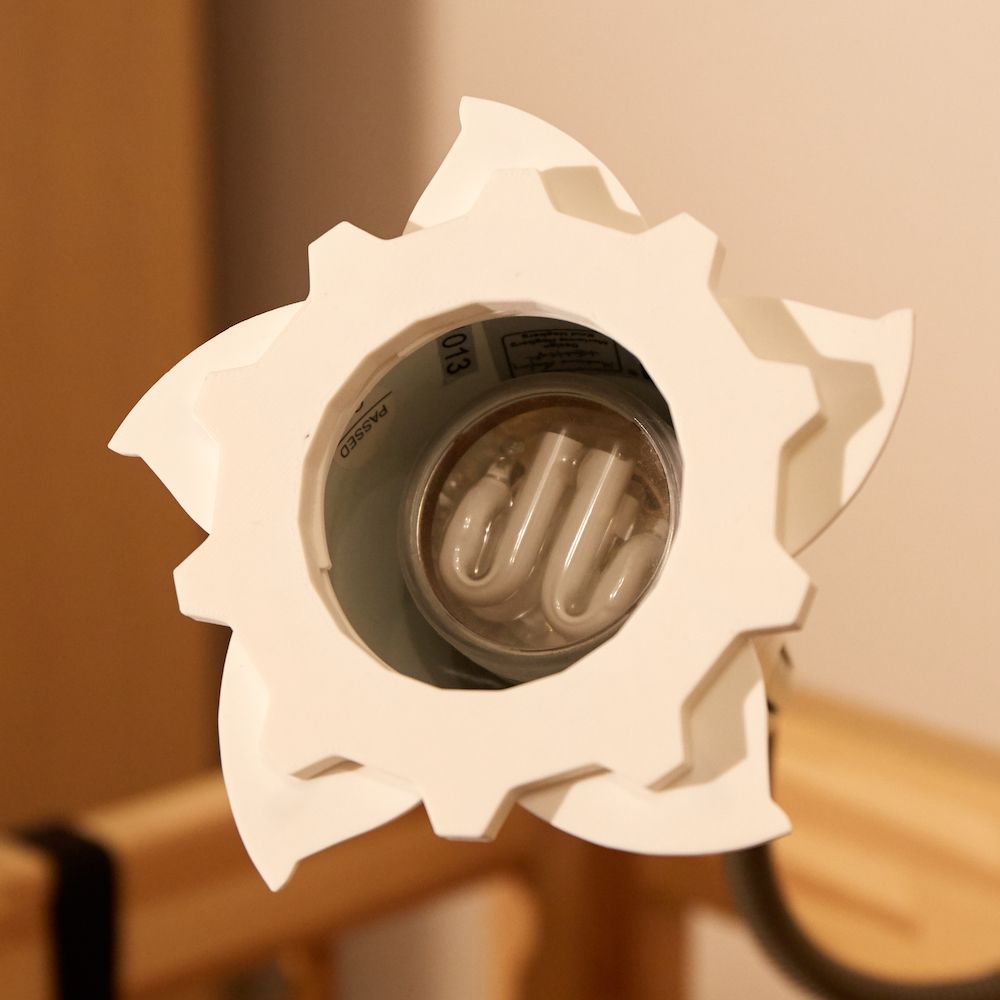
I decided to reuse the iris door mechanism and remix the top of the container to attach the mechanism to the lamp. I created a conical shape that follows the lamp's curvature, and so does not slip off. To install the conic adapter, I designed it with an opening that would be ultimately held together with a short M3 nut and a bolt.


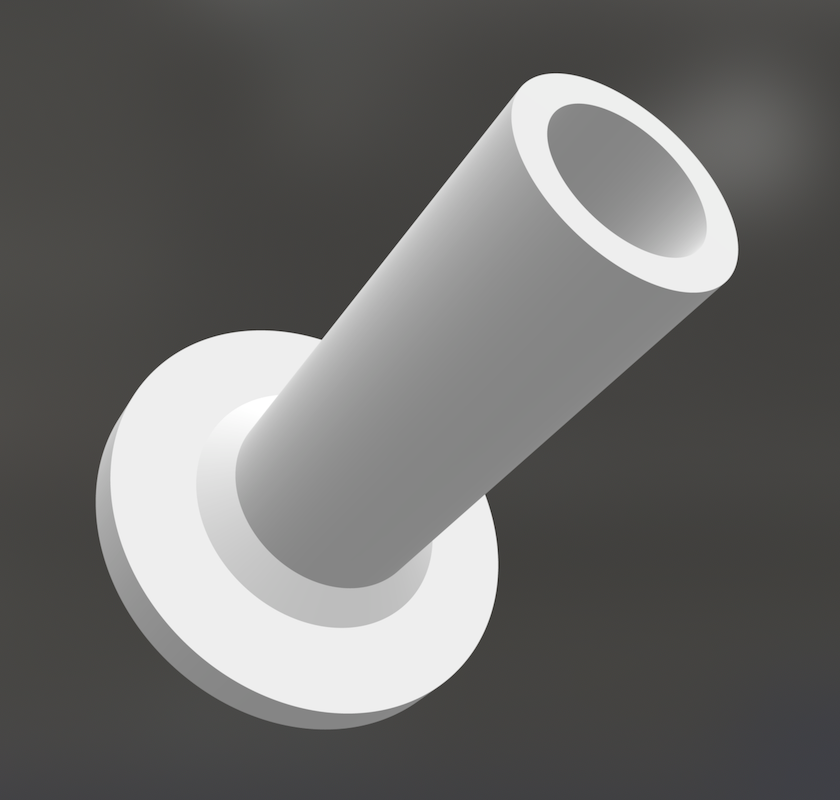
I had to upscale the iris door model because the lamp's opening is larger than the container design. This brought additional problems. The iris door parts were designed to be held together with screws, but when I scaled up the parts, no screws would snugly fit. I modeled a peg that resembles a screw and is glued in the holes designed for the screws. To reinforce the pegs (avoid inter-layer cracks), I've hollowed them out and inserted toothpicks in the holes.
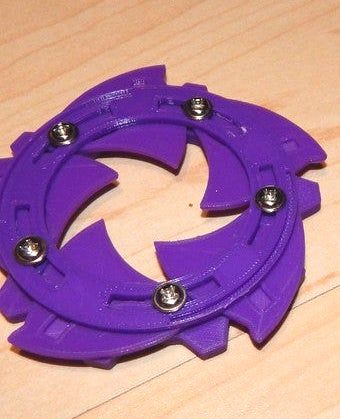
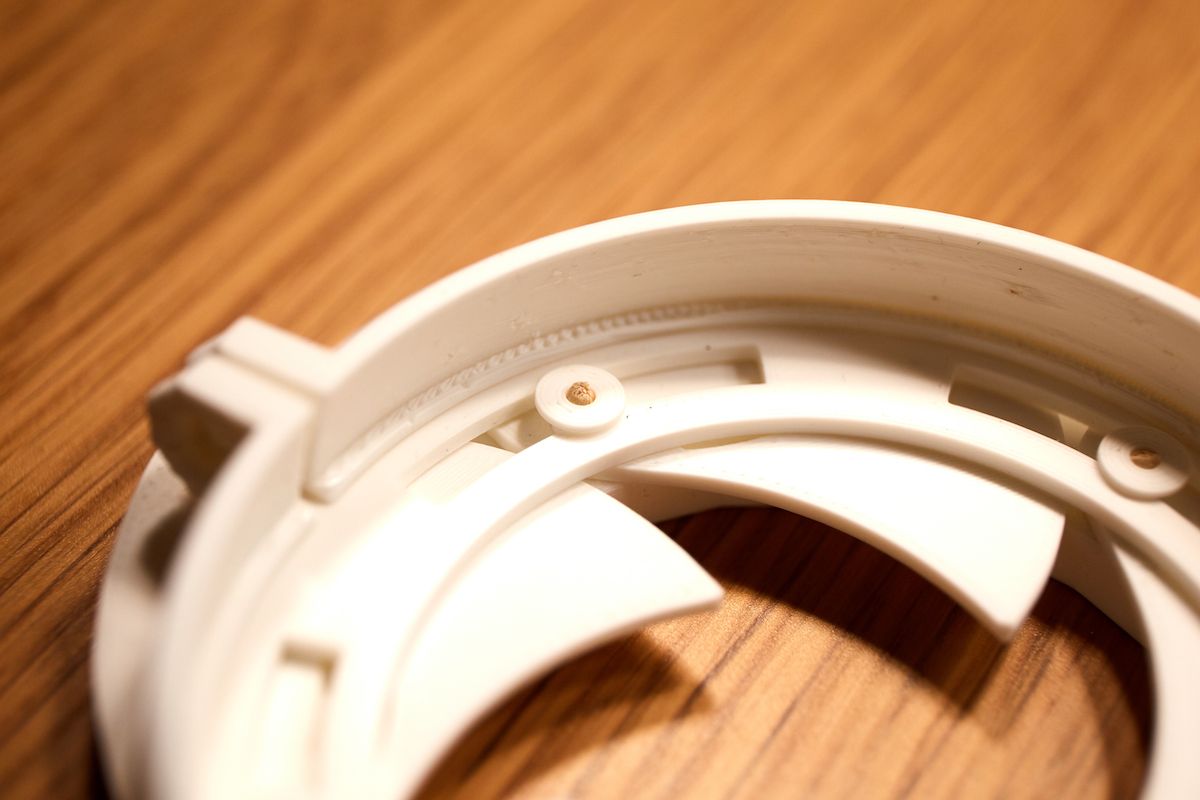
To match the color of the lamp, I printed the dimming mechanism in white color. Black would block too much light — you can turn off the lamp entirely in such a case. Colorful dimmer would also change the color of the light, and this was not desirable. I printed everything from PC-ABS. I wasn't sure how hot could the light bulb become, and PC-ABS has a high melting temperature. This material is also pretty durable and should handle the stress of constant use. Probably, the main reason to use that filament was the fact that I just got it and wanted to try it out. 😜
I also used a 3D cube infill, and this results in a stylish pattern of triangles that emerges when the lamp backlights the dimmer.

An Extra Story
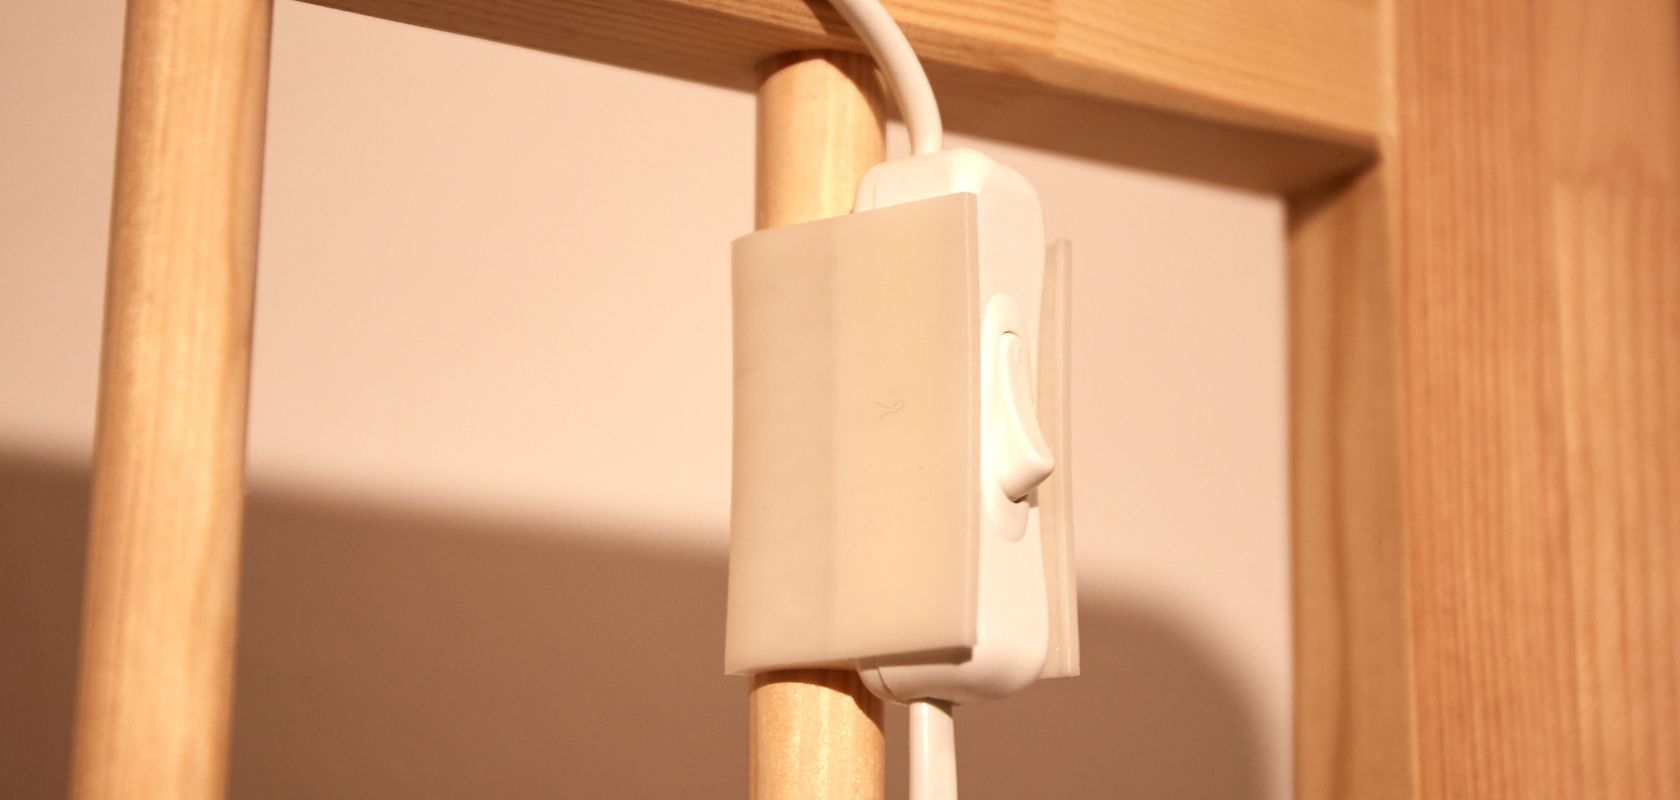
Not long ago, when our son was born, my wife needed a way to quickly turn on and off the lamp without searching for the button and fiddling with it. I measured wooden beams on the bed and the switch on the lamp, made a couple of prototypes, and Bam💥! It took less than 2 hours to have a holder that snaps into a wooden beam and holds the lamp switch. This way, the switch is always in the same place, and it's easy to press it with a single finger.
Epilog
We use the unique, beautiful, flowery, dimmable lamp for a year already. Usually, it's dim. We can make it brighter. We can use it to bring some light at night. We can use it to read books before sleep.
I didn't buy a dimmable lamp — I reused a simple lamp that I had. I didn't design my dimmer — I used an existing mechanism. I didn't design the connector from scratch — I remixed it from an existing container. Reuse it, print it, and prosper 🖖

